
Savings worth signing up for.


Geo Camo Fishing Grips
Regular price
$17.99 USD
Sale price
$17.99 USD
Regular price
Unit price
per
Shipping calculated at checkout.
Couldn't load pickup availability
Product Description
Product Description
Shipping Information
Shipping Information


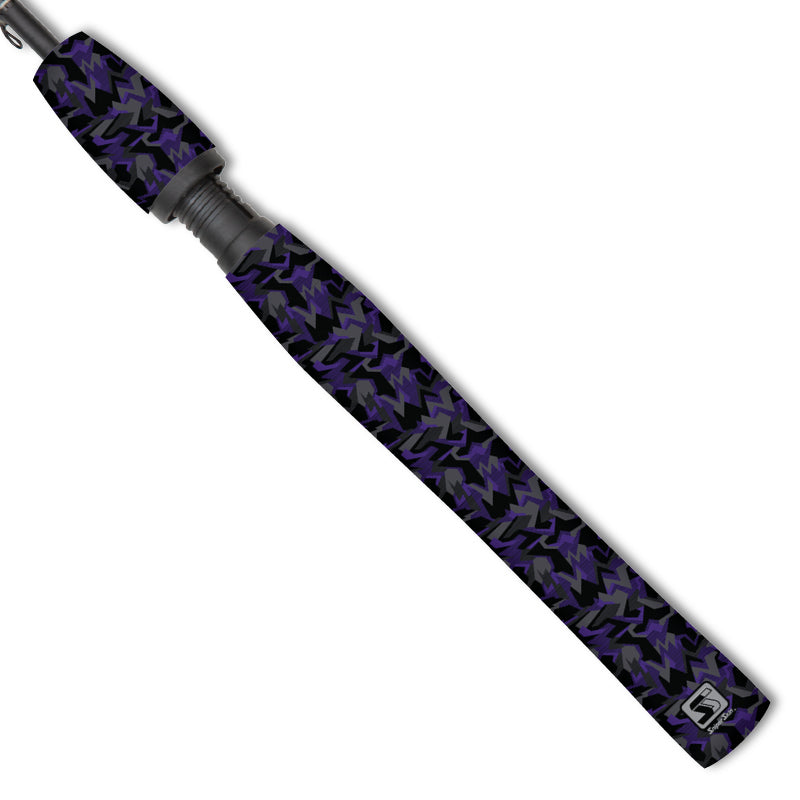

Installation Instructions
The installation process requires 212°F (100°C) boiling water, or a heat gun to ensure correct fit. High elevation areas must use a heat gun.
-

Step 1
POSITION THE GRIP
- Slide the sleeve onto the rod.
- Rotate the logo/text as desired.
- Leave roughly 1/2" of skin sticking out past the end. (A helpful way to measure this is using a water bottle cap - especially for boiling water installations).
-

Step 2 (A)
FORM GRIP WITH HEAT GUN
- Stand the rod upright and begin rotating the rod
- Hold the heat gun 6" from the Sniper Skin
- Starting at the bottom of the grip, apply heat until the entire base has shrunk tightly to the shaft.
- Continue rotating the grip and slowly move the heat up towards the unshrunk region until the grip has completely shrunk to the rod.
- Be careful not to overheat/melt the grip
- Using Sharp Scissors, trim off the excess material.
- Reheat trimmed areas and press against a hard surface to create a smooth finish.
-

Step 2 (B)
FORM GRIP WITH BOILING WATER
- Position the rod handle-side down in a sink.
- Keep the rod standing straight up and resting on the water bottle cap.
- As soon as the water has boiled, pour water into the sleeve and watch the Sniper Skin shrink!
- Continue pouring water until the kettle/pot is empty.
- Cool off with cold water
- Using Sharp Scissors, trim off the excess material.
- Reheat trimmed areas and press against a hard surface to create a smooth finish.


Instructional Video
Heat Gun Installation
Use a heat gun to evenly shrink the Sniper Skin into a tight, secure fit around your gear for a clean, game-ready finish.


Instructional Video
Boiling Water Installation
Pour 212F boiling water into the Sniper Skin sleeve, to activate the shrink and create a seamless, custom fit around your gear.