
Savings worth signing up for.


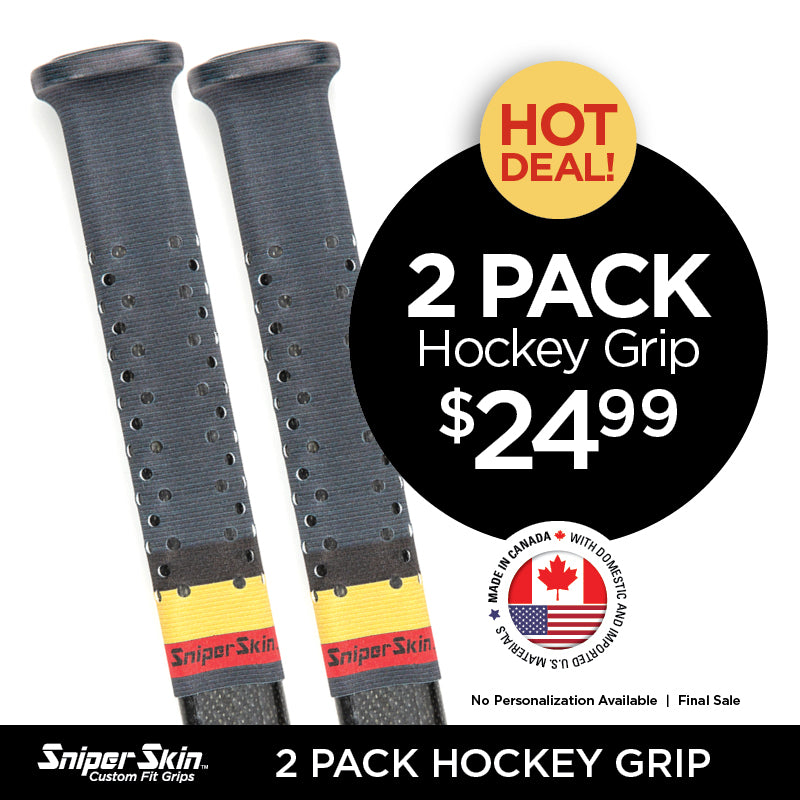
2 pk Black Red Gold Team Hockey Grip
Regular price
$24.99 USD
Sale price
$24.99 USD
Regular price
$43.98 USD
Unit price
per
Shipping calculated at checkout.
MAKE IT A TEAM ORDER
Buy 12+ Grips and Save 40%
Use code: TEAM40 (at checkout)
Couldn't load pickup availability
Sorry, it's out of stock.
But we can let you know when it's back in.
Product Description
Product Description
Specifications
Specifications
Shipping Information
Shipping Information



Installation Instructions
The installation process requires 212°F (100°C) boiling water, or a heat gun to ensure correct fit. High elevation areas must use a heat gun.
-

Step 1
CUSTOMIZE THE GRIP
- Use the rings & foam tape to create your custom grip feel
- Only install foam tape & rings in the first 5”/13cm of the shaft
- Test the grip feel with gloves on
-

Step 2
POSITION THE SHAFT
- Slide the sleeve onto the stick
- Holes must be below the top ring or foam tape knob
- Align the logo/text as desired
-

Step 3 (A)
FORM GRIP WITH HEAT GUN
- Stand the stick upright and begin rotating the stick
- Hold the gun 6in from the Sniper Skin
- Starting at the bottom of the grip, apply heat until the entire base has shrunk tightly
- Continue rotating the grip and slowly move the heat up towards the handle.
- Be careful not to overheat/melt the grip
- Using sharp scissors, trim off the extra extra material
-

Step 3 (B)
FORM GRIP WITH BOILING WATER
- With your non-pouring hand holding the middle of the stick, position the grip pointing down and into a sink.
- As soon as the water has boiled, pour water into the sleeve and watch the Sniper Skin shrink!
- Continue pouring water until the kettle/pot is empty.
- Cool off with cold water
- Using sharp scissors, trim off the extra extra material


Instructional Video
Heat Gun Installation
Use a heat gun to evenly shrink the Sniper Skin into a tight, secure fit around your hockey stick for a clean, game-ready finish.


Instructional Video
Boiling Water Installation
Pour 212F boiling water into the Sniper Skin sleeve, to activate the shrink and create a seamless, custom fit around your gear.